Modifying Original Recipes to Fit Your Needs!

A blog about healthy eating, healthy living and happiness. Join me and I'll show you how easy it is to substitute, modify and enhance your favorite recipes to accommodate your special diet, all without missing a thing!
Showing posts with label Stove. Show all posts

December 11, 2011

Creamy Mac 'n' Cheese

I have to be honest... I was a little skeptical of how this recipe would turn out when I first started making it. But guess what? It turned out fantastic!

The plan for dinner was to make homemade mac 'n' cheese for the boyfriend and roommate, and to make a gluten and dairy free version for myself. Sounds like a great plan right? I thought so ;-) Here's what you'll need...


Ingredients
1/2 c rice milk
1/2 c dairy free cheese (I used Diaya Vegan Cheese, the cheddar version)
1/4 tsp garlic powder
1/2 tsp herb de provence (or another spice mix you like)
salt & pepper to taste
*1/2 tsp nutritional yeast

**your choice of protein (optional)

2-3 oz gluten free pasta (I think a shorter pasta works better to hold the sauce rather than spaghetti, I used DeBoles Brown Rice Spirals)

To Prepare
Cook pasta according to package directions (be careful not to overcook, gluten free noodles tend to get mushy when over cooked). As the pasta cooks slowly heat the rice milk in a small pot over medium heat. When you start to notice the milk bubbling on the sides, turn the heat to low and add the cheese. Mix with a whisk until the cheese has fully melted. Turn off heat. Add the spices and nutritional yeast, adjust amounts to suit your tastes. Drain the pasta and add to the cheese sauce, mix until noodles are covered in that creamy deliciousness. Add in whatever protein you are using and you are ready to serve! This dish is great with a side salad or any vegetable of your liking.

Notes
*If you are on a diet that doesn't allow for yeast or are worried about the nutritional yeast in this recipe, let me say from experience that I didn't experience any side affects of adding the yeast to this sauce. I had to eliminate yeast from my diet for 3 months and still try to avoid yeast breads but I found this nutritional yeast to be just fine! It is a deactivated yeast and is a great source of protein and vitamins. The taste is cheesy and slightly resembles the powdered cheese that comes in those box mac 'n' cheese versions. If you are still skeptical, the Diaya cheese will provide enough of that cheesy flavor to the sauce but if you are a bit daring, give the nutritional yeast a try!

**I added some leftover sausage we had in the fridge for a protein boost, feel free to add whatever protein you like. Grilled chicken, meatballs/crumbled beef, or italian sausage would all be great! 


October 4, 2011

A Perfect Fried Egg & Green Chili Cornbread

For the last month or so I have been able to add eggs back into my diet (thank goodness!), I don't eat them all the time but when I do it is a treat and a nice break from my typical breakfast rotation. I made this Green Chili + Cinnamon Cornbread from the Gluten Free Goddess yesterday and it accompanied our dinner of "naked" burritos perfectly. After dinner I was thinking of what I could have for breakfast to switch things up and the light bulb turned on... A perfectly cooked fried egg with a slice of the cornbread, and a banana of course ;-)

As you can tell with my breakfasts so far... I tend to fair on the simpler side, however, I am strong believer that simplicity is well worth whatever time it takes. Cooking an egg and heating the cornbread on the skillet does require more work than pouring a bowl of cereal... BUT the benefits are so much greater and the taste will leave you drooling for more.

**A quick side note... When I was younger anytime my mom would make french toast for breakfast it was always accompanied by a fried egg. The mixture of the sweet french toast and syrup with the savoriness of the yolk and the egg meshed together PERFECTLY... this breakfast dish reminds me of that... almost bringing me back to life at home with the parents ;-))**


To prepare this breakfast you will have to have the cornbread left over, meaning you'll get to enjoy it (at least) twice!! It is very simple to make and the addition of green chilies and cinnamon is incredible!

To prepare your breakfast cook one (or two) eggs in a skillet. While the egg is cooking warm the cornbread on all sides (flipping after about 20 seconds for each side) - this gives it a nice crust and well... who doesn't like freshly warmed cornbread?! When the egg is cooked and the cornbread is crusted, place both on your plate and cut up any fresh fruit you'd like. That's it! Simple yet delicious, enjoy!


September 28, 2011

Ooey Gooey Quesadillas, Dairy Free!

I can honestly tell you that I don't have the words to describe how excited I was to have a REAL quesadilla that actually tasted like a one! I have had a few bites of cheese here and there over the last several months but not a full meal... Dairy has probably been the hardest thing for me to give up but.. my body seems to be happier without it so I have managed to fight my cravings.

I found shredded soy cheese at Vitamin Cottage and thought I'd give it a try (they have many brands, try them all and find your favorite!) I was a little weary about it at first since my last dairy free cheese purchase turned out a little less than... tasteful.

When I opened the bag and tried a little sample I was AMAZED! The best way I can describe the flavor is to relate it to the box mac 'n' cheese you had when you were little... that Velveeta-type, melts-in-your-mouth deliciousness ;-)

Back to the recipe... we had lots of leftovers in the fridge that were at that "eat it or throw it out" stage so I thought hmm what to have for dinner.... QUESADILLAS! They have endless possibilities for fillings and can be personalized to your liking. I filled mine with leftover homemade sloppy-joe, you can find the recipe here. This time around I made it with ground turkey instead of beef, give it a try if you don't eat beef, both taste great but I must say the beef has just a touch more oomph in flavor. I follow the recipe to the tee (except for adding twice as much carrot) and it is always a huge hit.

To prepare your quesadilla follow this tried and true method:
Gather the ingredients you'd like for the filling, place on one half of a tortilla (I use teff tortillas, you can use whatever you have on hand), top with the delicious soy cheese. Warm a medium skillet, use butter or any butter-like spread you have and grease the bottom of the pan. Carefully place the tortilla into the skillet and butter the top side. Wait a few minutes and flip, wait a few more minutes and there you have it! Both sides of the tortilla should be crispy and the filling should me melted. Use a pizza cutter to slice the quesadilla into as many pieces as you like. Eat as is or serve with salsa. Last but not least... enjoy!


September 13, 2011

Tuna Cakes & Sauteed Spinach

This recipe comes from The Allergy Self Help Cookbook . I bought this cookbook online when I found out that my summer would be spent eliminating the 23 foods I tested as being reactive to. The recipes in this book are free of all common food allergens (corn, gluten, egg, sugar, wheat, milk, soy, yeast). I saw the book in Barnes & Noble and was thrilled!

It gives a great deal of hope for those who are just starting on their allergy-free journey. I will say one thing - if you are new to gluten-free flours and the tastes, just keep an open mind with some of these recipes! Before you know it you will love these natural, earthy flavors and your body will be much happier as well.

The recipe for these Tuna Cakes, or Tuna Burgers as called in the book, are as follows:
1 can (6 oz) no-salt added water-packed tuna, drained
1/4 c. minced onions
2 tbsp honey-sweetened or fruit sweetened ketchup (I used Annie's)
1 tbsp prepared mustard (I used Dijon)
2 tbsp mayonnaise (or vegenaise) 
2 tbsp minced parsley or cilantro (optional)
1/4 - 1/2 tsp salt
1 starch: 1 small cooked white potato OR 1/4 c. toasted amaranth flakes OR 1/3 c. quinoa flakes OR 1/4 c. oat bran
1 - 1 1/2 tbsp vegetable oil (canola is fine)


To Prepare:
Combine all ingredients except oil in a food processor, process for 10 to 20 seconds or until well mixed (you'll need to stop halfway to scrap the sides into the middle).
Heat the oil in a large skillet over medium-low heat. Shape mixture into 4 very small tuna cakes or 3 normal sized cakes and place on pan. (The book says to drop the mixture onto the pan and flatten with a spatula, but my method worked perfectly and I think held the cakes together better.) They will cook about 5 minutes per side, or less if your pan is hotter - you'll know when to flip them when the sides begin to turn golden.

*Note: The recipe says "serves 4" but it was just enough for the 3 tuna cakes. If you want leftovers I would suggest doubling the recipe. You could try adding one more can of tuna but you'd probably need to add more of the wet ingredients for it to hold together.

For the Spinach:
Semi-thaw one bag of chopped spinach. Place contents into a medium skillet, add 1/3 cup water and cover. Let boil until all of spinach has thawed and is warm. Drain excess water. Add 1/4 cup chopped onion and 1 - 2 garlic cloves, chopped. Add a sprinkling of red pepper flakes, a good dose of salt & pepper, italian seasoning or any of your favorites. I added a few drops of rice wine vinegar - this seemed to make the flavors stand out a bit more. And finally add in your choice of cheese (if you can tolerate it). I am just now beginning to try dairy again but parmesan seems to be okay (thank goodness!) If you cannot tolerate cheese don't worry, the spinach still tastes delicious and fresh.

Enjoy!


I had to add this one to showcase the wine, essential for this meal :)

September 12, 2011

Jambalaya.. More like Upside down Shepard's Pie

The title of this post may have you a little confused... Allow me to explain...

The refrigerator in my condo is 'apartment size'... meaning it is smaller than a typical refrigerator. This also means that our freezer has been absolutely packed for quite some time. Because of this I resolved to create meals that use what is currently in the freezer rather than buying new foods. Sounds like a good idea right?

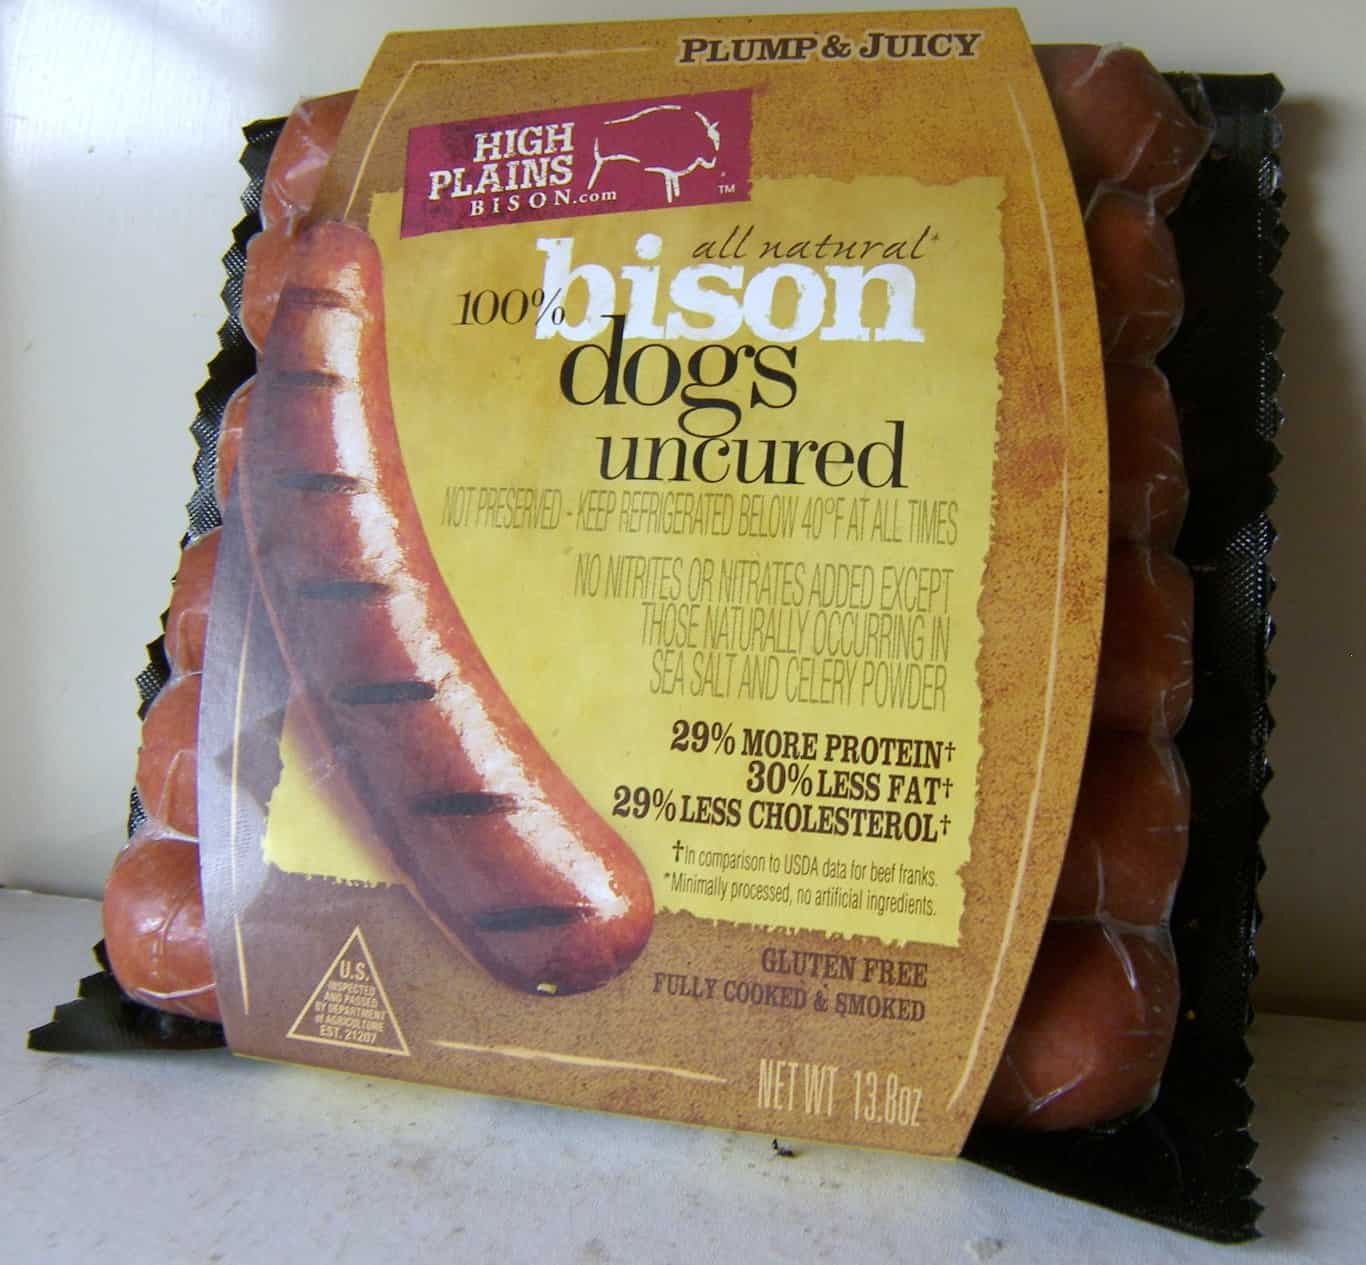
I knew that we had four Bison Hot Dogs  (yes, bison! You can find them at Costco, they are delicious and healthy!), and plenty of homemade Italian Sausage from my boyfriend's dad's restaurant - Benders Brat Haus (Aurora, Colorado).

I also had bought Millet quite some time ago and had yet to use it. I think that I slightly overcooked it because the texture resembled that of sticky oatmeal or when rice sticks together... The taste is very neutral which went well with this dish but by itself would definitely need some added flavoring.

In my head I was thinking of creating a fish-less Jambalaya with the ingredients we had. As I said earlier,  it ended up looking more like upside down Shepard's pie - but the flavor was still very good.

Ingredients
4 Bison Hot Dogs (precooked)
Italian Sausage (about 1/2 pound)
Diced Canned Tomatoes (I used Fire Roasted)
2 Roasted Green Chiles (fresh if you have them leftover from any Farmer's Market you may have visited, if not canned will work just fine)
1 c. Millet
1 c. Peas (plus any other veggies you want to throw in)
Garlic

How to Prepare
Cook millet according to package directions (warning - 1 c makes a lot!).
While millet cooks, cook the italian sausage or any other spicy sausage you have on hand.
Cut bison dogs into rounds.
Chop 2 gloves garlic and add to sausage along with green chiles.
Add tomatoes (and their juice) to pan with sausage and garlic. 
Add peas to pan and continue to let mixture simmer until peas are heated. 
Taste and add any extra seasoning, salt & pepper. 

By now the millet should be done and you are now ready to eat!

The way I served it was by placing a good amount of millet in the middle of the plate and topping with the meat mixture.


It didn't take long for all of us to mush everything together... the flavors blend better and it looks almost as pretty...


This dish can be made with so many different ingredients. Use whatever you have on hand and throw in as many extras as you like! Enjoy!


August 26, 2011

Delicious Zucchini Crumble

My parents are having a zucchini overload in their garden this summer - a burden for them but a benefit for me! Typical uses for zucchini are... zucchini bread, grilled zucchini, stuffed zucchini, zucchini in pasta, zucchini as pasta... am I missing any? I wanted to make something different.... the food gods must have been listening because the weekly email I subscribe to from Living Without Magazine was a Gluten Free, Dairy Free Zucchini Pie.

As you'll notice the crust of this pie racks up in calories, not to mention sugar... Being that it is still blazingly hot here in Colorado I modified this recipe to make something a bit lighter.. a Zucchini Crumble. I was once again helped by the food gods... well actually the Gluten Free Goddess (same thing!), which is where I found the crumble for this delicious dessert.

My Modifications:
I followed the recipe exactly for the zucchini  portion of the pie, but once prepared placed it into an 8 x 8 baking dish. Instead of discarding the sweet, delectable, syrupy liquid, I reserved it and used it in place of most of the butter/shortening that is used in the crumble. I can tell you I only used about 1 tbsp of butter in the crumble, the rest of the moistness came from the syrup (I can't tell you exactly how much you'll need, just make sure that you have a crumbly, somewhat dry texture).

Instead of baking the crumble on top of the Zucchini I baked it by itself until it browned, then crumbled once cooled. When you are ready to serve the dish simply place the crumble on top of the prepared zucchini and bake at 350 until the crumble is crunchy and the zucchini is warm. Enjoy!

**When you serve this, don't tell people they are eating zucchini... make them guess what it is! Chances are no one will get it right... the taste resembles an apple crumble...but better!**

I can't have dairy but if you can, a scoop of vanilla ice cream would take this off the charts ;-)

August 8, 2011

Hawaiian Meatballs with Red Pepper Mango Sauce

I have seen several recipes for sweet and sour meatballs, but all contained pineapple which I cannot have. I substituted with fresh mango and added spices as I went along - sometimes improvisation works better than set recipes! I hope you enjoy this fun, easy recipe as much as we did!

½ c diced white onion
1 lb ground beef
½ tsp salt
½ tsp pepper
2 tsp minced ginger
1 tsp dried marjoram
½ tsp dried chives
1 tbsp olive oil

¾ c mango nectar
1 tbsp cornstarch
1 red bell pepper (cut into bite size pieces)
2 ripe mangos (cubed)
¼ c water

Prepare all produce – dice the onion, cut the pepper into bite size pieces (about ½ inch wide), cube the mango and set all aside.
Combine the onion through dried chives into a large bowl, mix thoroughly with hands and shape into meatballs (I got meatballs, some 1-inch wide some 1 ½ inch – choose the size you like). Warm olive oil into a large skillet, place meatballs in skillet and let brown on all sides until done (about 15 minutes).
Once cooked through, remove meatballs from plan and set aside. Drain excess grease from pan (keep any onions or caramelization that has formed). Place ½ c mango nectar into skillet and warm until simmers. While the nectar is warming mix the cornstarch and ¼ c cool water. Once nectar is simmering turn off heat and slowly add the cornstarch mixture, stirring constantly until thickens. Add the remaining mango nectar and red pepper to mixture and heat on low for 5-10 minutes, or until peppers have softened. Add meatballs to warm through and serve immediately.

*We enjoyed this meal with fresh corn on the cobb – try grilling your corn for an extra treat! The boys also had biscuits with this meal, any gluten free bread or muffin would accompany this dish wonderfully as well.  

Enjoy!